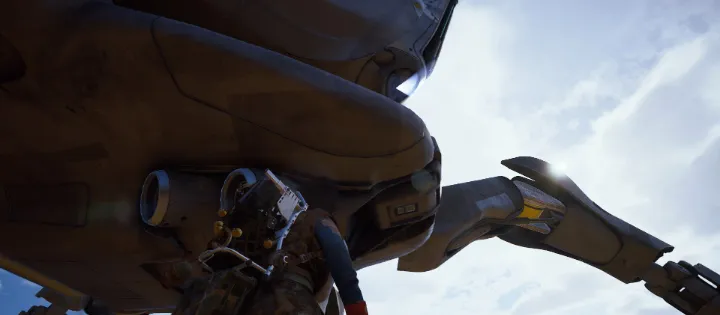
Every ARC Weak Point in ARC Raiders: Armor, Health and the Ammo That Works
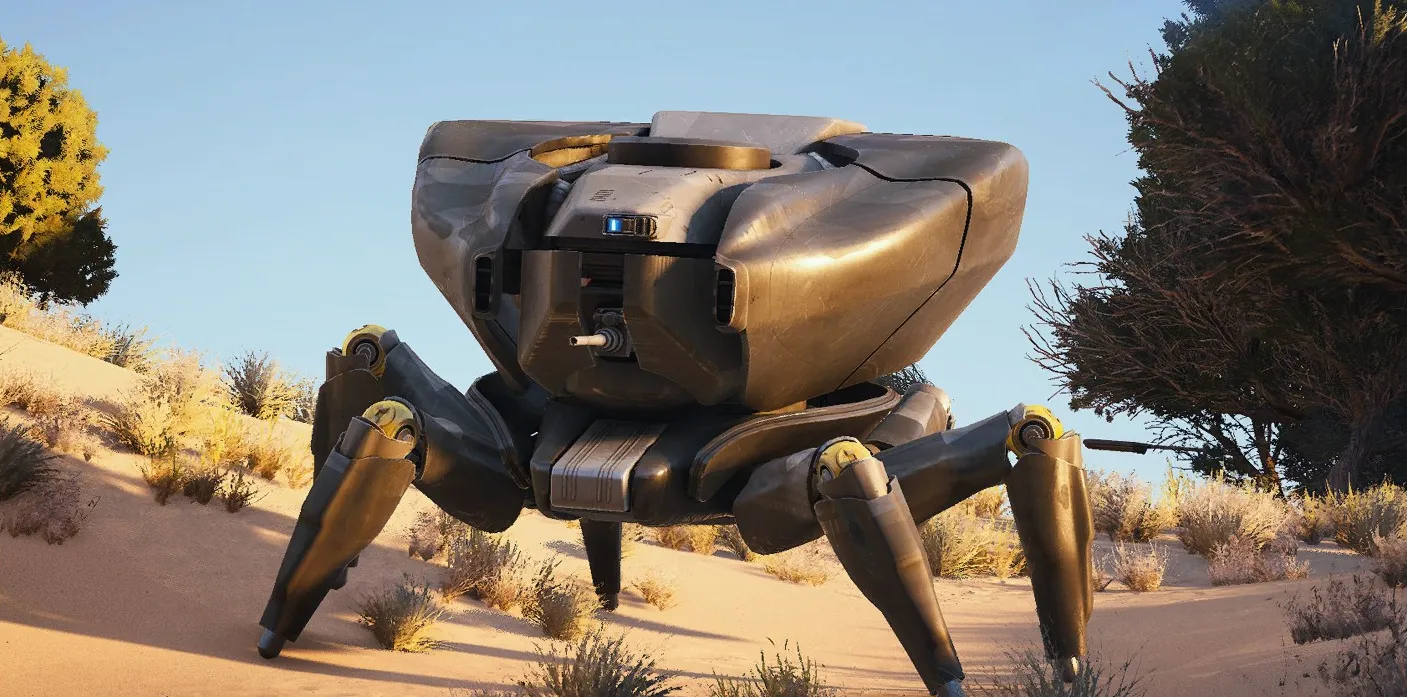
Every ARC has a yellow spot that takes real damage and armor that wastes your ammo. Learn to read the plating and pick ammo with the right penetration, and even a Bastion goes down fast. Below is every ARC in the game, small to huge, with its weak point and the part it drops
How ARC armor works
You can read every ARC by its colors. Three kinds of surface, three different results when you shoot them
- Matte white plating is unarmored. Every gun does some damage here, and rounds with Moderate ARC armor penetration or better do the most
- Shiny dark grey plating is armored. Anything below Moderate penetration bounces off. Enough damage strips the plate and shows weaker plating underneath
- Bright yellow parts are weak points. Damage there goes straight into the ARC. Always shoot these first
The light on an ARC tells you its mood too: blue means patrolling, yellow means it noticed something and is coming to check, red means it has found you and will fight until it loses you
Which ammo gets through
ARC armor penetration is a stat of the gun, and guns that share an ammo type mostly sit at the same level. It is the single biggest reason a fight with an ARC feels easy or hopeless
| Ammo | ARC armor penetration | Guns |
|---|---|---|
| Light Ammo | Very Weak | Kettle, Stitcher, Bobcat, Hairpin, Burletta |
| Shotgun Ammo | Weak | Il Toro, Vulcano |
| Medium Ammo | Moderate | Rattler, Arpeggio, Tempest, Renegade, Canto, Venator, Torrente, Osprey |
| Heavy Ammo | Strong | Anvil, Ferro, Bettina |
| Energy Clip | Strong to Very Strong | Aphelion and Dolabra (Strong), Jupiter and Equalizer (Very Strong) |
| Launcher Ammo | Very Strong | Rascal and the Hullcracker, whose rounds only explode on ARC |
Small ARC
Drones, mines and turrets. Most die in a few rounds if you hit the right spot, and most get dangerous only because they bring friends
| ARC | Armor | Health | Weak point | How to kill it |
|---|---|---|---|---|
| Tick | None | 10 | Anything | You usually hear it first. Any gun kills it. Dodge roll the moment it latches on |
| Pop | None | 20 | Anything | Climb if it ambushes you, or dodge roll over it to bait the blast |
| Fireball | Heavy | 20 | White core | The core opens when it attacks. One heavy round or a shot into the open core |
| Wasp | None | 110 | Thrusters | Break a thruster and it loses balance |
| Comet | Heavy | 150 | Core | Heavy ammo or grenades. Dodge to the side before it explodes |
| Snitch | None | 158 | Thrusters | Kill it fast. It calls in ARC reinforcements |
| Spotter | None | 80 | Thrusters | Kill it before it locks on. It spots for Bombardiers. Seeker Grenades work well |
| Turret | None | 80 | Body | Bait its fire from cover. Two heavy rounds usually do it |
| Hornet | Light | 200 | Rear thrusters | Its back is unarmored. Dodge roll when it sounds its stun shot |
| Firefly | Heavy | 200 | Yellow fuel tank, thrusters | Shoot the yellow canister on its body |
| Surveyor | Heavy | 257 | Core | The core shows while it fires its laser. It runs fast, so stun it with a Hornet Driver or Showstopper. Explosives help |
| Sentinel | Light | 300 | Yellow canister on its arm | A long-range sniper turret. Four yellow beams converging mean it is about to fire. Get behind cover |
| Shredder | Heavy | 385 | Thrusters | Never fight it in the open. Heavy ammo, grenades or a Hullcracker |
| Skulker | Light | — | Its body once it attacks | Keep it in sight. It loses its edge while you watch it. Usually in groups |
Big ARC
These are the ones that end raids. Most have yellow joints or canisters, and all of them punish you for shooting anywhere else
| ARC | Armor | Health | Weak point | How to kill it |
|---|---|---|---|---|
| Bastion | Heavy | 2,050 | Yellow leg joints, rear canister | Slow but turns its gun fast. Pull it into a corner and shoot the joints. A Showstopper or Hornet Driver leaves it helpless. Deadline on its rear or head |
| Bombardier | Light | 2,670 | Yellow leg joints, rear canister | It fires mortars where its Spotters see you, so kill the Spotters first. Heavy ammo and the Hullcracker work best. Stay out of its shockwave |
| Leaper | Heavy | 1,100 | Eye, yellow leg joints | Hide in a doorway it is too big to fit through and shoot the eye or joints. Explosives and Wolfpacks make it quick |
| Rocketeer | Heavy | 1,100 | Thrusters, the scanner on top, the silver canister on its back | Two Wolfpacks, or break thrusters to bring it down. Hornet Drivers knock it off balance |
| Vaporizer | Light | 1,500 | Thrusters, the scanner on top | Fires a laser and raises a Matriarch-style shield that blocks thrown items. The shield has a cooldown. Wolfpacks |
| Bully | Heavy | — | The yellow ring on each knee, the head while it fires | Charges like an attack dog. Keep your distance from the canister blast and use Wolfpacks |
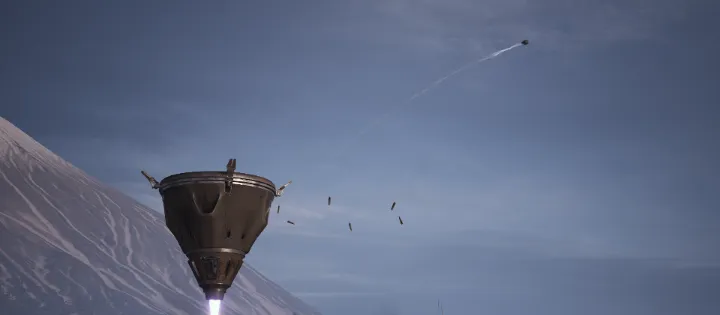
| ARC Turbine | Heavy | About 4,000 | The spinning landing gear while it is down | Lays a minefield, then lands. Only then is the weak point open. Watch for its lightning missiles |
| Hydra | Heavy | — | Not confirmed yet | A three-section turret on the Frigate that cannot move. Each section tracks one Raider, so let it lock a squadmate and flank it with high-penetration guns and grenades |
The bosses
The Queen and the Matriarch both have about 23,000 health and the same rule: shoot off the armor plates, then empty everything into the glowing red core. Each has its own guide: how to beat the Queen and the Harvester and the Matriarch guide
What each ARC drops
Every ARC carries one part you can only get from it. These are the parts quests, projects and workshop upgrades ask for
| ARC | Its part | ARC | Its part |
|---|---|---|---|
| Tick | Tick Pod | Pop | Pop Trigger |
| Fireball | Fireball Burner | Comet | Comet Igniter |
| Wasp | Wasp Driver | Hornet | Hornet Driver |
| Snitch | Snitch Scanner | Spotter | Spotter Relay |
| Firefly | Firefly Burner | Surveyor | Surveyor Vault |
| Sentinel | Sentinel Firing Core | Shredder | Shredder Gyro |
| Bastion | Bastion Cell | Bombardier | Bombardier Cell |
| Leaper | Leaper Pulse Unit | Rocketeer | Rocketeer Driver |
| Vaporizer | Vaporizer Regulator | ARC Turbine | Turbine Compressor |
| Bully | Bully Fragmenter | Skulker | Skulker Targeter and Skulker Driver |
| Queen | Queen Reactor | Matriarch | Matriarch Reactor |
Frequently asked questions
How do I find an ARC's weak point?
Look for the bright yellow parts: joints, canisters, thrusters or a core. Damage there goes straight in. Shiny dark grey plating is armor and eats your rounds
Why do my bullets bounce off ARC?
Your gun's ARC armor penetration is too low. Anything below Moderate bounces off armored plating. Light ammo is Very Weak and shotgun ammo is Weak
What is the best ammo against ARC?
Launcher Ammo (Hullcracker, Rascal) and Energy Clips (Jupiter, Equalizer) are Very Strong. Heavy Ammo is Strong. Medium is Moderate
What do the lights on an ARC mean?
Blue is patrolling, yellow means it noticed something and is investigating, red means it found you and is in combat
Which ARC has the most health?
The Queen and the Matriarch, at about 23,000 each. After them come the ARC Turbine at about 4,000, the Bombardier at 2,670 and the Bastion at 2,050
How do I deal with a Bombardier?
Kill its Spotters first, because it fires where they see you. Then shoot its yellow leg joints and the rear canister with heavy ammo or a Hullcracker
Sources: the ARC Raiders Wiki (CC BY-SA 4.0), Embark Studios news and patch notes