ARC Raiders Dam Battlegrounds Map Guide: Loot Areas, Keys, Extraction and the Puzzle
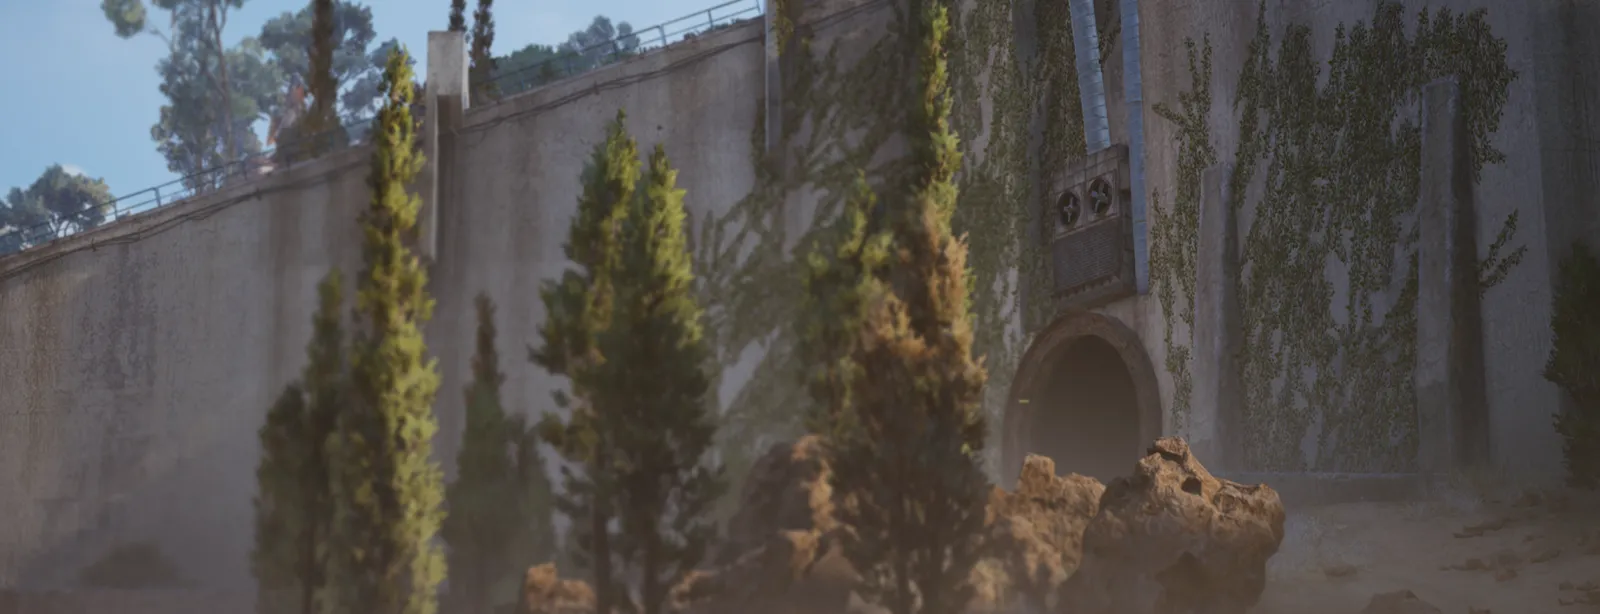
Dam Battlegrounds is the first map every Raider plays and the one they keep coming back to. A huge crumbling dam splits the map in two, with swamp and forest on one side and power plant buildings along the wall. It is the easiest map to learn, it has a key room in almost every big building, and it hosts both the Queen and the Matriarch
Dam Battlegrounds at a glance
| Dam Battlegrounds | |
|---|---|
| Unlock | Open from your first raid |
| Difficulty | The easiest map in the game |
| Raid length | 30 minutes |
| Extraction | Four Cargo Elevators: Central Swamp Lift, North Complex Elevator, Water Treatment Elevator and Red Lakes Balcony Lift |
| Raider Hatches | Four: Sunroof Hatch, Pump House Hatch, Spillway Hatch and Good Old Baron's Hatch |
| Key rooms | Control Tower, Staff Room, Surveillance, Testing Annex and the Controlled Access Zone, plus a Power Rod door |
| Bosses | The Queen during Harvester and the Matriarch during her condition |
Every area and its loot
| Area | Loot | Notes |
|---|---|---|
| Hydroponic Dome Complex | Nature, Industrial, Security | A top loot zone with a Field Depot. Big, open and green |
| Control Tower | Technological, Security | A top loot zone. The Control Tower key room is here |
| Research & Administration | Commercial, Technological | A top loot zone. The Staff Room key room and the medical room |
| Controlled Access Zone | ARC, Mechanical | A top loot zone with its own key and the map's big puzzle |
| Power Generation Complex | Electrical, Industrial | With the Generator Hall and the North Complex Elevator. The Power Rod door is on its east side |
| Water Treatment Control | Industrial, Mechanical | The Surveillance key room and the Water Treatment Elevator |
| Testing Annex | Medical, Commercial | Two Testing Annex key rooms. Close to the Red Lakes Balcony Lift |
| Primary Facility | Mechanical, Industrial | On the dam wall, next to the Control Tower |
| Scrap Yard | Mechanical, Industrial | South of the Small Creek |
| Electrical Substation | Electrical | West side, near Good Old Baron's Hatch |
Smaller spots like the Pattern House, Ruby Residence, Pale Apartments, Old Battleground, South Swamp Outpost, Water Towers, Formicai Outpost and Red Lakes Balcony fill the gaps, and several have Field Depots or Raider camps
Key rooms
| Key | Room |
|---|---|
| Dam Control Tower Key | A room in the Control Tower |
| Dam Staff Room Key | A room in the Research & Administration building |
| Dam Surveillance Key | A room in the Water Treatment Control building |
| Dam Testing Annex Key | A room in the Testing Annex (there are two) |
| Dam Controlled Access Zone Key | The Controlled Access Zone |
| Power Rod | Not a key, but it opens a door on the east side of the Power Generation Complex |
The Controlled Access Zone puzzle
The Controlled Access Zone hides the best loot room on the map behind two doors. You need a team of three and a Snap Hook
- Power the lock room. Find the Fuel Cell, usually on the ground floor. Carry it to the top of the room, with some climbing, and put it in the wall slot. That opens the room with the fourth switch
- Press all four buttons at once. They have to go within a moment of each other. With three Raiders, the last button needs a Snap Hook to reach it in time. When all four lights above the door turn green, the first door opens
- Feed the second door. An electrical panel asks for specific items, different every raid: one big item such as an Industrial Battery, Leaper Pulse Unit, Motor, Rocketeer Driver or ARC Performance Steel, plus small ones like ARC Powercell, Battery, Metal Parts or Wires
Bosses and big ARC
- The Queen guards the Harvester at the Red Lakes, southeast of the Power Generation Complex, during the Harvester condition. See the Queen and Harvester guide
- The Matriarch works the open ground around The Breach during her condition. The Pipeline Tower roof is the classic place to fight her. See the Matriarch guide
- The ARC Turbine can fall in mid-raid
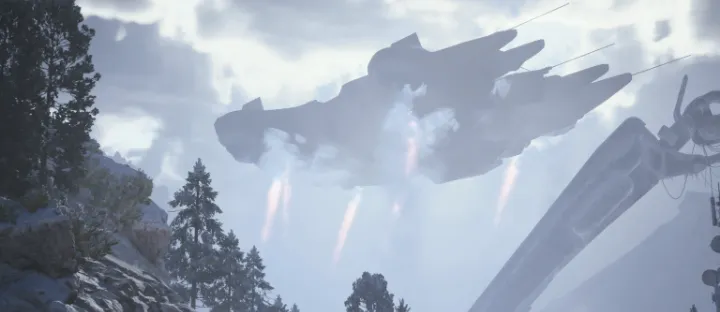
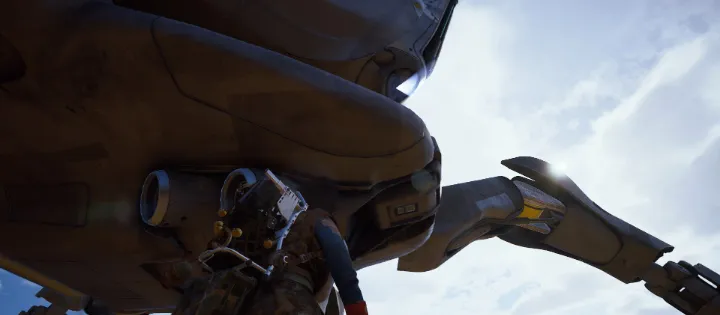
- Rocketeers, Bastions and Bombardiers patrol, and lots of Hornets and Wasps fly over the swamp
Conditions on Dam Battlegrounds
The Dam can roll more conditions than most maps: Night Raid, Electromagnetic Storm, Hurricane, Harvester, Matriarch, Husk Graveyard, Lush Blooms, Uncovered Caches, Prospecting Probes, Close Scrutiny and the ARC Frigate. The map conditions guide explains each one, and the live schedule is on our store page
Tips
- A Raider Hatch needs a Raider Hatch Key. It stays open 10 to 15 seconds, lets one Raider through at a time and has no shutdown timer
- Field Crates near Field Depots can be carried into the depot and sent to Speranza for rewards
- Supply Call Stations call in a Supply Drop within a minute, but everyone nearby sees it land
- The dam wall splits the map. Plan your route to a crossing before the end of the raid
Frequently asked questions
Is Dam Battlegrounds the easiest map?
Yes. It is the first map, open from your first raid, and has the lowest difficulty rating
Where are the extraction points on Dam Battlegrounds?
Four Cargo Elevators: Central Swamp Lift, North Complex Elevator, Water Treatment Elevator and Red Lakes Balcony Lift. There are also four Raider Hatches
What are the key rooms on Dam Battlegrounds?
Control Tower, Staff Room in Research & Administration, Surveillance in Water Treatment Control, the Testing Annex and the Controlled Access Zone
How do I solve the Controlled Access Zone puzzle?
Power the lock room with a Fuel Cell, press all four buttons at once with three Raiders and a Snap Hook, then feed the second door the items its panel asks for
Where does the Queen spawn on Dam Battlegrounds?
At the Harvester at the Red Lakes, during the Harvester condition
Where is the best loot on Dam Battlegrounds?
The Hydroponic Dome Complex, Control Tower, Research & Administration and Controlled Access Zone are the top zones
Sources: the ARC Raiders Wiki (CC BY-SA 4.0), Embark Studios news and patch notes, MetaForge community map data