ARC Raiders Spaceport Map Guide: Loot Areas, Keys, the Tunnels and the Hidden Bunker
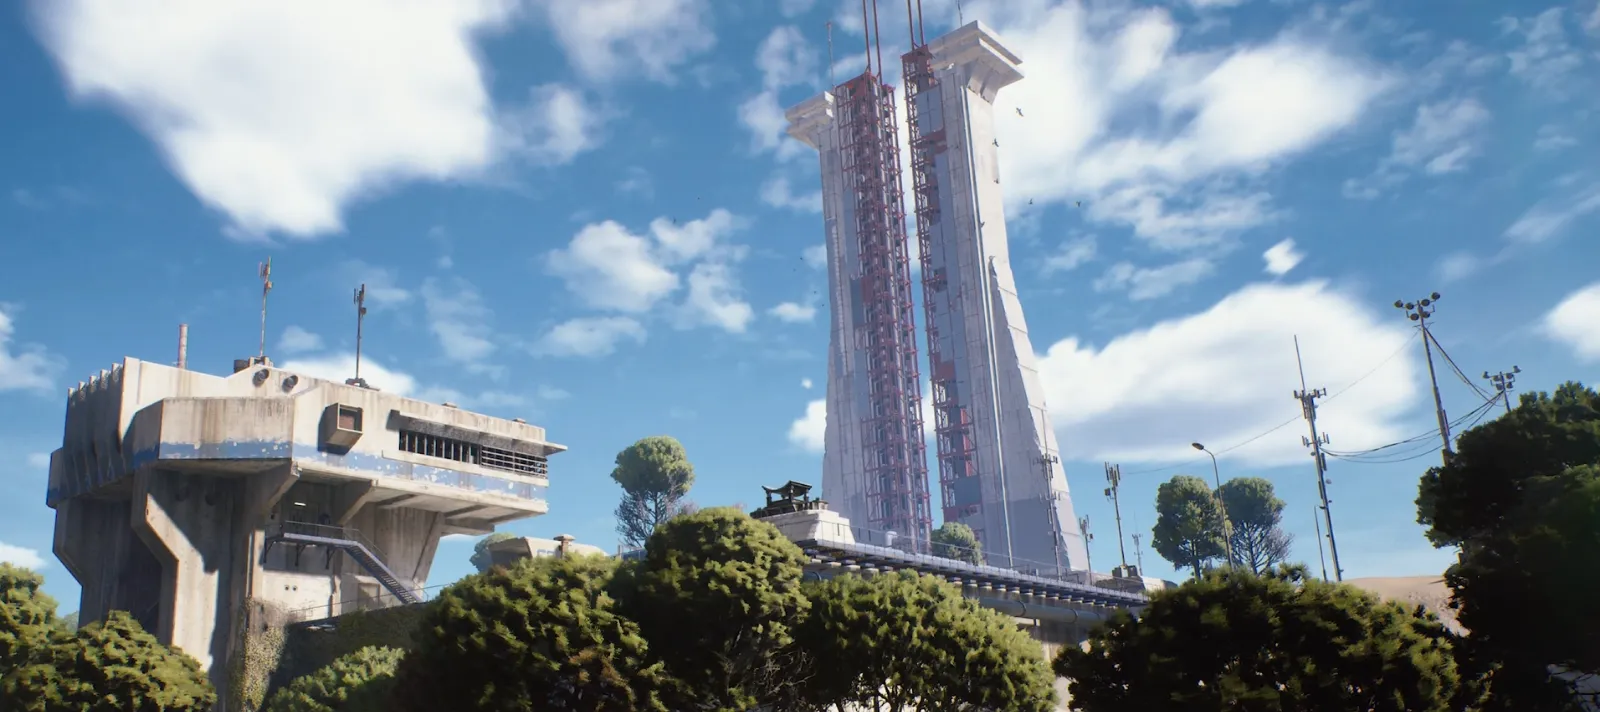
Acerra Spaceport is where the Exodus shuttles left Earth, and the Launch Towers still loom over the middle of the map. It is dense and busy: the best buildings sit close together around the towers, a trench and a tunnel network run under it, and it has two conditions of its own, Launch Tower Loot and the Hidden Bunker
Spaceport at a glance
| Spaceport | |
|---|---|
| Unlocks after | 12 rounds played |
| Raid length | 30 minutes, or 40 during the Hidden Bunker |
| Extraction | Four Cargo Elevators: Central, East, South and West |
| Raider Hatches | Four: Trench Hatch West, Trench Hatch East, Departures Hatch and Control Hatch |
| Key rooms | Container Storage, Control Tower A6, the Trench Towers and the Shipping Warehouse |
| Own conditions | Launch Tower Loot and the Hidden Bunker |
| Bosses | The Queen during Harvester and the Matriarch during her condition |
Every area and its loot
| Area | Loot | Notes |
|---|---|---|
| Launch Towers | Technological, Security | A top loot zone in the middle of the map. Extra loot on top during Launch Tower Loot |
| Departure Building | Commercial, Technological | A top loot zone. The exam rooms and the Staff Locker Room |
| Arrival Building | Commercial, Technological | A top loot zone in the northwest, by the Car Park |
| Control Tower A6 | Technological, Commercial | A top loot zone with the Control Tower key room. Great high ground |
| Container Storage | Industrial, Mechanical | A top loot zone with its own key room |
| Rocket Assembly | Exodus, Industrial | One of the best spots for Exodus loot |
| Vehicle Maintenance | Mechanical, Industrial | A breach room on the second floor |
| Trench Towers | Technological | North and South Trench Towers, each with a key room |
| Shipping Warehouse | Industrial, Mechanical | The Warehouse key room |
| Fuel Control | Mechanical, Electrical | Next to the East Container Yard |
Around the edge sit the Fuel Depot, Jiangsu Warehouse, Water Towers, Fuel Processing, Fuel Storage, Maintenance Hangar, Staff Parking, Service Buildings, the Communications Tower and three hangars. Several have Field Depots
Key rooms
| Key | Room |
|---|---|
| Spaceport Container Storage Key | A room in Container Storage |
| Spaceport Control Tower Key | A room in Control Tower A6 |
| Spaceport Trench Tower Key | The locked rooms in the North and South Trench Towers |
| Spaceport Warehouse Key | A room in the Shipping Warehouse |
The tunnels
A tunnel runs under the middle of the map from near the Central Elevator down to the Departures and Control hatches. It is a quieter way across the busiest part of Spaceport, and several quests send you into it
Launch Tower Loot
A Spaceport-only condition. Someone has locked off the Launch Tower and left their loot at the top, and ARC defenses are up in response. The ziplines to the top are locked at the base: find a fuel cell around the Launch Towers, by one of the six tunnel entrances or next to one of the two orb-shaped gas canisters, and put it in the generator at the bottom of the ziplines. Teal lockers at the base of the tower can hold the Industrial Battery you need
Bosses and big ARC
- The Queen guards the Harvester on the south side, by Staff Parking. See the Queen and Harvester guide
- The Matriarch sits near the Launch Towers. Fight her from the towers or the top of Control Tower A6. See the Matriarch guide
- Sentinels watch from fixed spots around the buildings, and the ARC Turbine can drop in mid-raid
Tips
- The middle of the map is where everyone goes. Pick your building from your spawn and commit
- Control Tower A6 and the Launch Towers give you the best view of the map, which also makes them the most watched
- Know where your elevator is before you go deep into the tunnels
- During the Hidden Bunker, the terminals cancel if you walk away. Guard the Raider who is downloading
Frequently asked questions
How do I unlock Spaceport?
Play 12 rounds
Where are the extraction points on Spaceport?
Four Cargo Elevators, Central, East, South and West, plus four Raider Hatches: Trench Hatch West and East, Departures Hatch and Control Hatch
What are the key rooms on Spaceport?
Container Storage, Control Tower A6, the North and South Trench Towers and the Shipping Warehouse
How do I open the Hidden Bunker?
Switch on four rooftop antennas near the middle of the map, two presses each. The bunker opens west of the Departure Building
How do I get to the top of the Launch Tower?
During Launch Tower Loot, put a fuel cell in the generator at the base of the ziplines to unlock them
Where is the best loot on Spaceport?
The Launch Towers, Departure Building, Arrival Building, Control Tower A6 and Container Storage are the top zones
Sources: the ARC Raiders Wiki (CC BY-SA 4.0), Embark Studios news and patch notes, MetaForge community map data